
How to Grow Weed: Step-By-Step Guide for Beginners
Are you interested in learning how to grow weed? Whether you’re a seasoned veteran or a curious beginner, cultivating weed is a rewarding and fulfilling experience.
In this comprehensive tutorial, we’ll walk you through the entire growing process. From checking the legal status of cultivation to storing your buds after harvest, we’ve got you covered with our complete cannabis growing guide.
How to Grow Weed in 12 Steps
Let’s jump in.
Step 1: Check the legal status
If you’re curious about learning how to grow weed, first find out if it’s legal to do so in your state. Keep in mind that while some regions have legalized weed, it’s still unlawful in other areas.
The first step in studying the legislation is to visit your state government’s website. Most have a section devoted to marijuana laws and regulations where you can find the information you need.
Alternatively, contact your local city or county government to see if there are any additional rules in your area.
Search for specific information, like how many plants you can grow, where you can grow them, and what kind of license or permit you might need.
If you’re still unsure about the legality, consult a lawyer specializing in cannabis law or contact your state’s marijuana regulatory agency for guidance.
Once you confirm that it’s legal to grow marijuana, you can start learning the ins and outs of how to do it successfully.
Step 2: Select a location
The next thing you should do if you’re interested in growing weed is learn about your region’s weather conditions. Understanding your area’s temperature, humidity, and sunlight levels helps you choose the best spot for your plants.
Consider outdoor cultivation if you live in a place with a warm, sunny climate, as marijuana plants thrive in hot, sunny conditions. If your region has cooler or more humid weather, an indoor setup may be better.
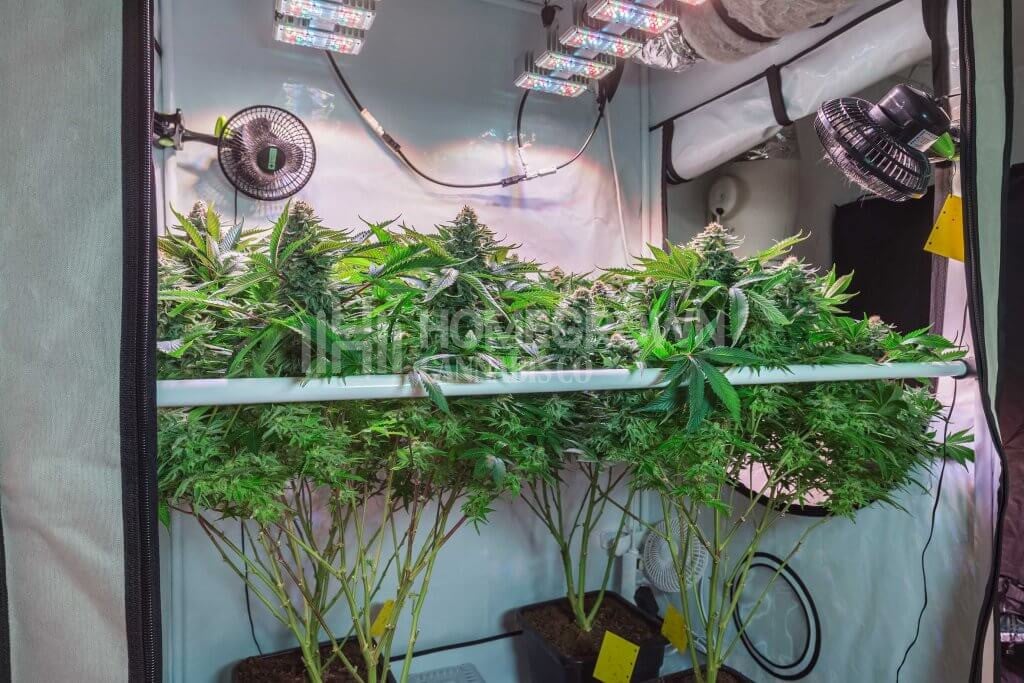
Indoor growing
There are a few essential factors to keep in mind when growing cannabis indoors. These plants require a humidity level of around 40–60%. This range helps you avoid mold and ensures your crops develop correctly.
Controlling the climate is equally important. Keep the temperature at 68–77°F during the day and a little lower at night.
Marijuana plants need 16–18 hours of light per day during the vegetative stage. When they enter flowering, reduce it to 12 hours of light and 12 hours of dark.
Prevent mold and fungus issues by ensuring there’s enough airflow. Install fans to keep the air moving and stop it from getting hot and stale. You also need intake and extraction fans for air exchange.
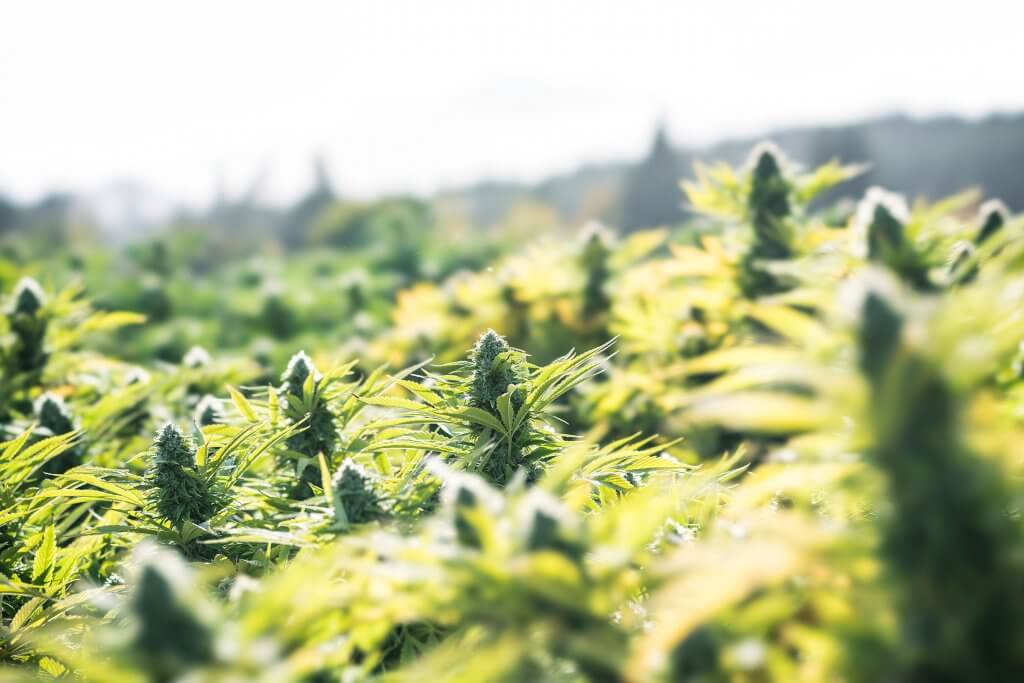
Outdoor growing
If you reside in a warm, sunny environment, growing your own weed outdoors is a suitable option. The first stage is to select an appropriate place. Choose a location with plenty of sunshine, space, and excellent soil drainage.
After deciding on a spot, prepare the earth by removing any rocks or other debris and incorporating organic compost.
Plant your weed seeds early in the spring, and keep the soil damp but not wet. Planting season is usually in April, but unless your plants are sheltered by a greenhouse, don’t plant until the final frost of the season.
As your crops grow, watch for bugs and diseases and treat outbreaks immediately.
Step 3: Choose a medium
Each growing medium has its own benefits and drawbacks, so it’s important to weigh your options before making a decision.
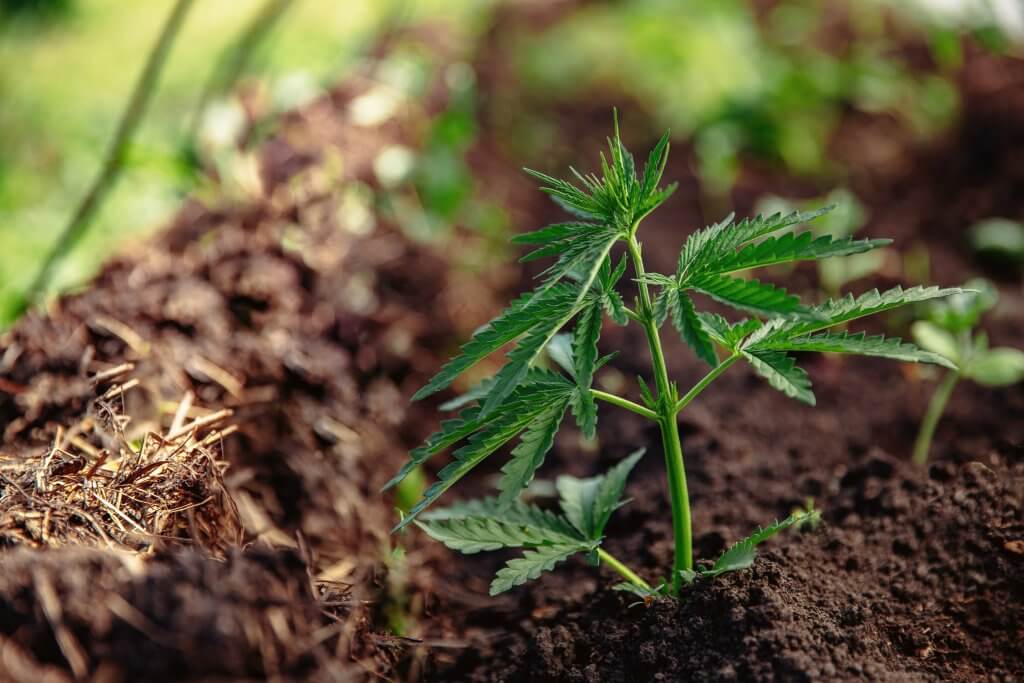
Soil
Soil is the traditional medium for cannabis crops. It’s easy to use and enhances the plant’s terpene profile. However, it can be more difficult to control in terms of pH and nutrient levels.
When growing cannabis plants in soil, use a high-quality, nutrient-rich mix specially formulated for cannabis. Supplement any additional nutrients, and consider using organic fertilizers and compost.
Provide adequate drainage to avoid water-logging, which can lead to root rot. Add perlite to the soil for increased drainage, or vermiculite for water retention.
Marijuana plants favor a slightly acidic medium with a pH of 6.0–7.0. Regularly test your soil and adjust the pH level as required.
Coco coir
Coco coir is a renewable resource that comes from the husk of coconuts. It’s one of the best ways to grow cannabis, as it ensures your plants have the right amount of air and water.
This substrate has a high water retention capacity, which means it can hold onto liquid for longer periods of time than other growing mediums.
Sometimes, coco coir may have fungus gnats, so consider heat treating it. Once sterilized, it won’t contain any harmful bacteria or fungi that could damage your plants and is free of pests and diseases.
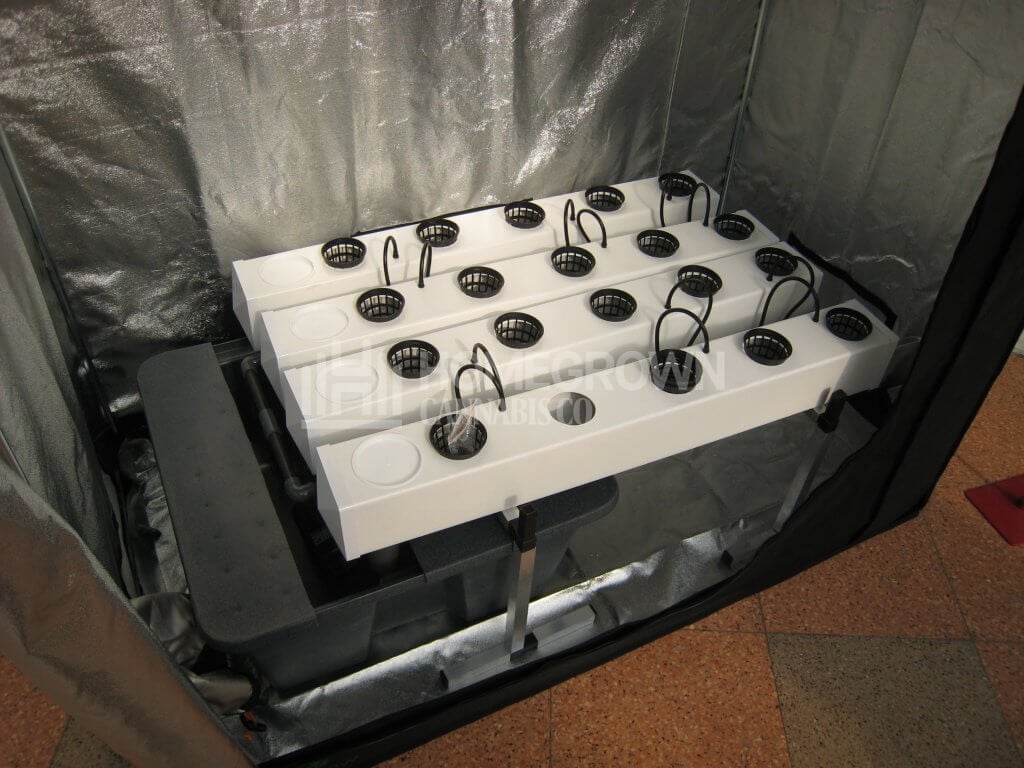
Hydroponics
Hydroponic systems offer better nutrient intake and promise faster development times. However, they tend to cost more and are typically harder to set up.
With hydroponics, you control every aspect of your plant’s growth, from the amount of nutrients it receives to the temperature and humidity levels. This means that your cannabis crops grow faster, yield more, and are of higher quality.
Hydro is one of the soilless mediums that allow for greater flexibility with space and resources. It’s a suitable option for experienced cultivators.
Aquaponics
Aquaponics combines hydroponic (water-based) and aquaculture (fish farming) methods to produce healthy, organic plants without the use of soil.
The fish in the system provides natural nutrients for the plants, potentially saving you money on fertilizers. Aquaponics also uses up to 90% less water than traditional soil-based growing methods.
On the flip side, the upfront costs of setting up an aquaponics system can be significant. Additionally, it requires careful maintenance to ensure the water quality stays optimal for both the plants and the fish.
If you’re not experienced with aquaponics, you may need to invest time and energy into learning how to maintain the system properly.
Step 4: Select the right weed seeds for your growing method
The easiest way to grow weed depends on your personal preference and level of experience.
Regular weed seeds generate male and female plants, so you must identify and eliminate the former if you want to avoid pollination. They’re best suited to growers who want to breed new strains or are looking for more variety in their crops.
Feminized weed seeds generate solely female cannabis plants in 99% of cases, eliminating the need to remove male plants. They’re a popular choice for growers growing plants for consumption purposes.
Autoflower weed seeds produce non-photoperiod plants that switch from the vegetative to the flowering stage based on their age rather than the hours of light they receive. They’re recommended for growers who want a faster turnaround time.
Note that each cannabis strain is unique and has specific needs; thorough research about your chosen cultivar is essential.
Step 5: Set up your lights for indoor growing
The most common indoor grow lights include LED, HPS, MH bulbs.
- LED lights use less energy and are full spectrum, making them perfect for indoor growing. They’re energy efficient and produce much less heat than traditional grow lights.
- HPS lamps produce high-intensity illumination that can result in higher yields. On the downside, they consume more energy and produce a lot of heat.
- MH lights have a blue spectrum that’s ideal for vegetative plant development but still produce more heat than LEDs.
Consider the spacing when setting up your lights. You may use PPFD measurements to find the ideal distance. Hold your hand at the canopy level and raise your lights until it no longer feels hot (this option is just for HPS).
Vegging crops typically require an 18/6 schedule, while flowering plants need 12 hours of light and 12 hours of darkness daily. Non-photoperiods should receive as much illumination as possible throughout their life cycle, ideally 20 hours of light daily.
Tip: Use a timer to guarantee your plants get the same hours of light every day.
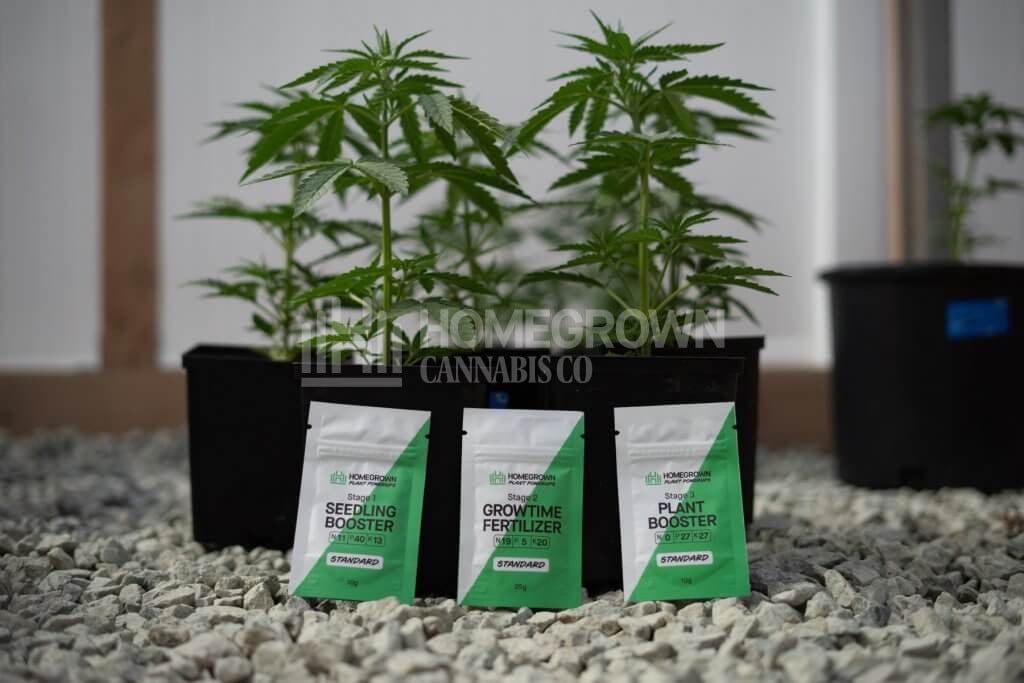
Step 6: Pick the right nutrients for cannabis
Nutrient management is an essential factor to consider when learning how to start growing cannabis. Nitrogen (N), phosphorus (P), and potassium (K), also known as NPK, are the most critical nutrients for cannabis plants.
- Nitrogen is important during vegetative development and aids in the production of chlorophyll, which is required for photosynthesis.
- Phosphorus is essential for root growth and flower production.
- Potassium is crucial for plant growth as it regulates water uptake and nutrient transport.
Cannabis crops also require supplementary nutrients like calcium, magnesium, and sulfur, as well as micronutrients like iron, zinc, and copper.
Provide your crops with a balanced nutrient solution throughout their growth cycle to ensure they flourish. Adjust these ratios from veg to flower, as the requirements change.
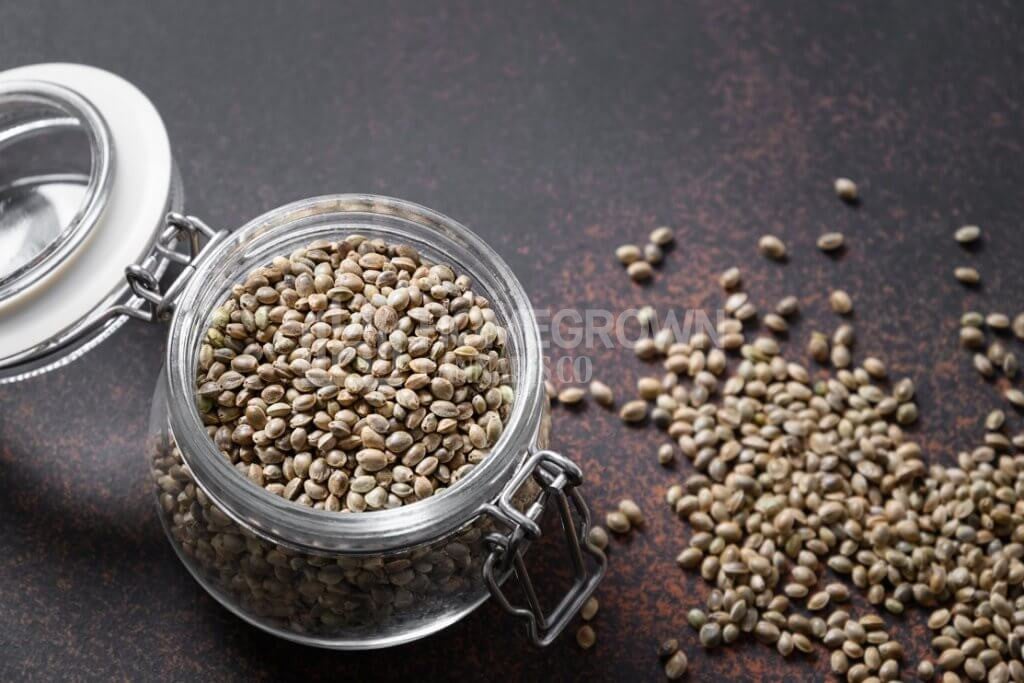
Step 7: Germinate your marijuana seeds
If you’re interested in growing good weed, start with high-quality weed seeds. Germination is the first step in the cultivation process. Under the right conditions, your seeds sprout taproots and begin to develop into seedlings.
There are several methods of germinating cannabis seeds, including using a cup of water, paper towels, soil, or peat pellets.
Paper towel method
The paper towel technique is one of the simplest ways of starting weed plants. Moisten a paper towel, position your seeds on it, and then fold another damp sheet over them. Place everything between two plates to lock in the humidity.
Put the plates in a warm, dark location, such as a cupboard or closet. Check on the seedlings every day and keep the paper towels moist. The seeds should sprout after a few days. When the taproots are a quarter-inch long, gently move them to your preferred growing medium.

Straight into the medium
Planting weed seeds directly in the soil medium is a quick and popular germination method. Although it’s simpler, you may have a decrease in successful germination compared to other methods.
Choose a soil mix and moisten it evenly in a well-sized pot. Make a tiny indentation about a half-inch deep. Insert the seed, pointing with the end down, and cover it with a thin coating of cannabis-specific soil.
To produce a humid atmosphere, gently water the seed and cover it with a plastic container. Keep it in a warm, dark place and look for indications of germination daily.
Remove the plastic cover and position the pot under a light source once the seedling emerges from the soil. If you can adjust light intensity, set it to the lowest setting for seedlings. If your light isn’t adjustable, raise it so it’s further away from the plant.
Using peat pellets
Germinating weed seeds with peat pellets is quick and easy. To start growing weed from start to finish, soak the pellets in water until they expand and become moist.
After the pellets are ready, use a pencil or finger to make a quarter-inch deep hole in the center of each one. Place your cannabis seed in the hole and cover it with a small amount of moist pellet material. Keep them consistently warm, dark, and wet.
Check daily for successful germination. Once you see the taproot, remove the humidity dome, and put the seedling under a grow light.
In water
Germinating weed seeds in water requires you to fill a cup halfway with distilled water and bring it to room temperature. Then, submerge your weed seeds in the water for up to 72 hours or until a taproot appears.
Once the taproot emerges, carefully transfer the seedlings to your preferred growing medium so as not to damage their delicate roots.
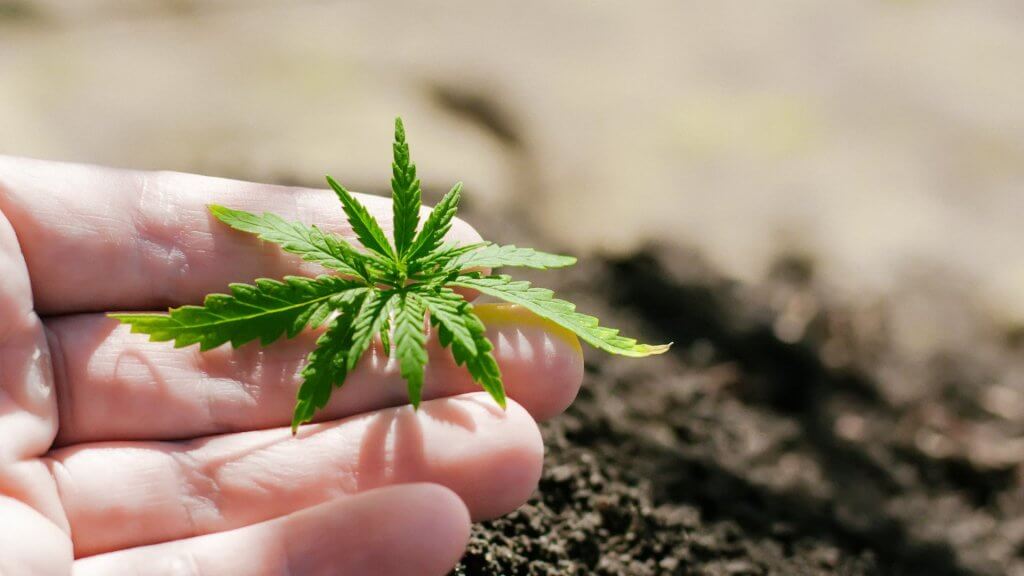
Step 8: The seedling stage
After revealing their taproots, the seedlings begin to develop their first set of true leaves. This phase typically lasts for the first two to three weeks after germination.
Seedlings need plenty of light to promote vigorous growth. If growing indoors, ensure your lights are positioned close to the plants but at a low intensity and are on for 18–24 hours daily.
Give your marijuana seedlings the right amount of water. You don’t want to overwater your plants, as it can lead to root rot and other issues. Instead, aim to keep the soil moist but not water-logged. Keep the humidity level between 50–70% during the seedling stage.
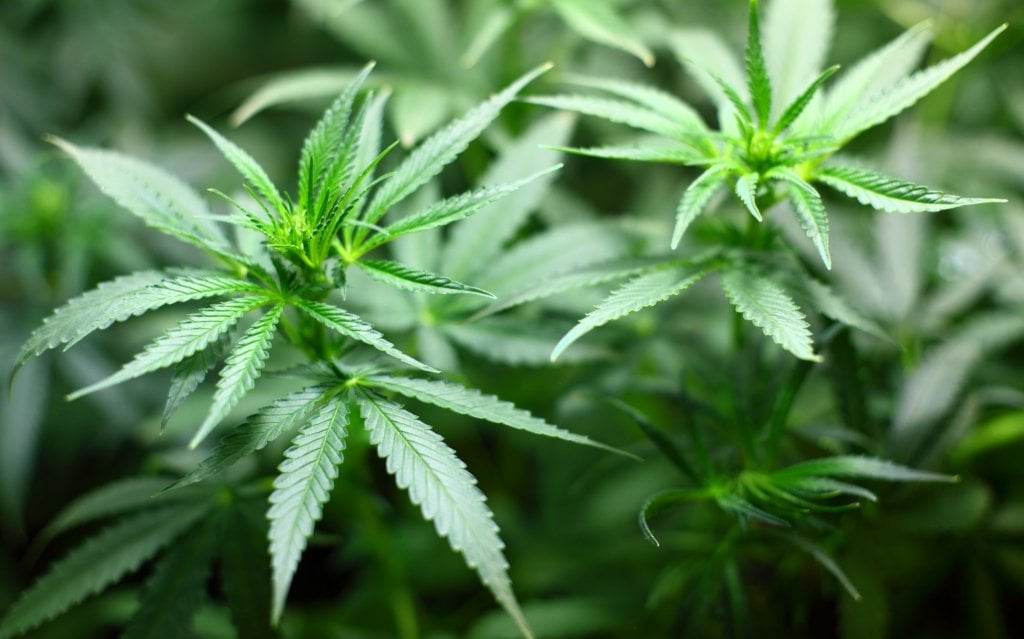
Step 9: The vegetative stage
Growing cannabis for beginners can be challenging, especially when your crops enter the vegetative stage. This is an important phase of the plant’s life cycle, as it focuses on growing leaves, stems, and roots.
Depending on the strain, vegging typically lasts 4–6 weeks. It’s usually longer for plants grown outside, while indoor growers can adjust this period as needed.
During this stage, your weed crops need sufficient light, water, and nutrients. Provide 18 hours of light and 6 hours of darkness daily.
Use the right amount of nutrients for your plant according to manufacturer specifications and avoid over and underwatering. A daily dry-back period is ideal; this gentle stress helps the plant in many aspects.
Training techniques are typically incorporated during the vegetative stage. The plants are still flexible, allowing you to shape and manipulate them to increase yield and improve overall health.
Standard training techniques include topping, pruning, bending, and support structures such as trellises and stakes.
It’s also common to super-crop. Squeeze and bend the branch to create just enough damage to prevent it from snapping or breaking. This enables you to train the branch laterally. The damaged area will form a callous, making it even stronger.
Step 10: The flowering stage
The flowering stage is when your weed plants start to produce their beautiful buds. Depending on the strain, this period can last anywhere from 6–14 weeks.
During the blooming period, your plant needs plenty of light, water, and nutrients to help it produce the best buds possible.
Autoflowering plants bloom automatically regardless of the light cycle. Since they stay smaller and flower quicker than most crops, they don’t yield anything close to a large outdoor plant.
If you’re looking for a big harvest, you might want to stick with photoperiod plants, which require a 12/12 schedule in bloom.
Step 11: Harvesting, drying, and curing weed plants
The hue of the trichomes is one factor that tells you when to harvest the buds.
The stigma pistils start out white and turn orange as the flower matures. The trichomes develop throughout the flowering process. They appear to be little sticky crystals covering the buds.
Trichomes resemble small mushrooms in the later stages of flowering. They develop a stalk and a head. They’re clear during most of the process, but as they progress to the later phases of flowering, they become foggy.
Pick the buds at this stage if you want a more psychoactive high. When they’re near optimum maturity, they begin to turn amber. Wait until the trichomes become amber or brown for a more calming effect. Darkening indicates that the THC has begun to degrade into CBN.
Most ripe trichomes turn entirely amber, but others may still be milky with a subtle golden hue. For peak cannabinoid levels, wait until 70% of the trichomes become amber. The majority of growers harvest at this time.
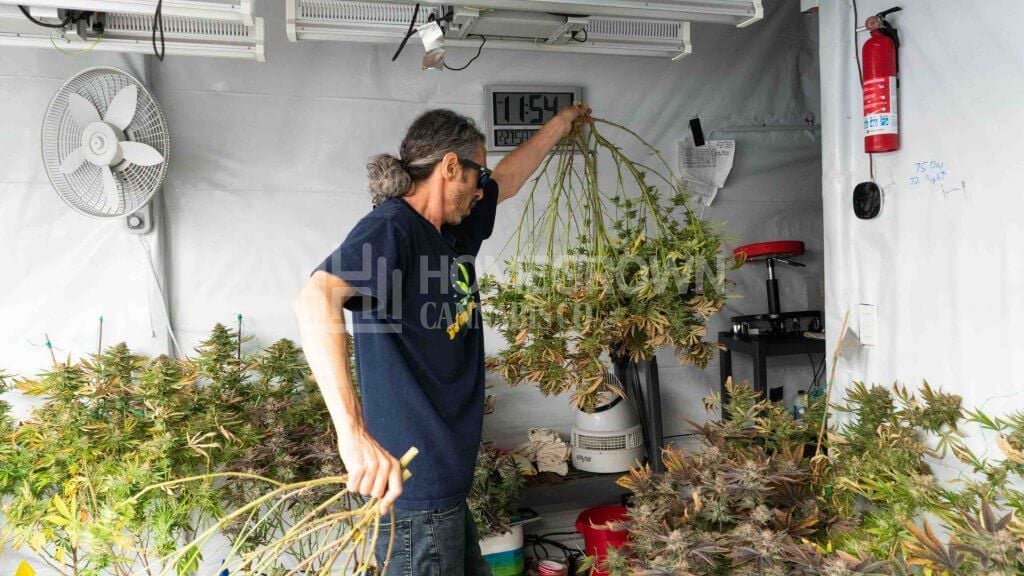
The color of the trichomes is a good indicator of the plant’s maturity level. Still, there are other factors to consider, like the density and appearance of the buds. Snip your matured nugs off with sharp scissors, then hang them up to dry.
Your drying area should have a temperature of around 60°F with 60% humidity. Direct sunshine can dry out your buds and reduce potency, so avoid it.
Cure your buds after drying them. Put them in a glass jar and let them “sweat” for a few days.
Open the jar regularly. The process is called burping. As the buds dry, there’s typically more moisture in the middle of the buds. This technique pulls moisture from the material and equalizes it throughout. It also breaks down chlorophyll, which can make weed taste bitter.
Congratulations, you’re almost an expert at knowing how to grow really good weed.
Step 12: Storing your cannabis buds
Too much or too little light, heat, and air can harm your buds. Exposure to these elements can degrade the potency and flavor of cannabis.
It’s important to keep your buds in an airtight glass container, away from direct sunlight and high temperatures. You can store them for around 6–12 months this way without losing too much potency.
FAQs
Got more questions about growing marijuana? Below are our answers to the most frequent queries.
What’s the secret to growing good weed?
The key to growing top-quality weed is to create the ideal environment for your plants. Choose an appropriate strain and a suitable growing medium, ensuring you provide adequate light, water, and nutrients while maintaining optimal temperature and humidity.
Watch for pests and diseases, and train and prune your plants as required. Anyone can learn how to grow a marijuana plant and produce high-quality buds with patience and devotion.
What do you need to grow weed?
The most important requirement is an appropriate growing environment, such as a tent, a dedicated room, a greenhouse, or an outdoor garden. Choose a suitable substrate, such as soil or hydroponics.
High-quality cannabis seeds, nutrients, grow lights, a ventilation system, and other tools such as pH meters, timers, and fans are also recommended. Growing weed is easy when you equip yourself with the right knowledge. Conduct thorough research and invest in high-quality tools to achieve the best results.
How long does it take to grow weed from seed to harvest?
It can take anywhere from 2–6 months for a cannabis plant to be available for harvest. Plants grow faster indoors because the climate is controlled, and you can play with the light schedule to lengthen or shorten the vegging phase.
Due to natural factors like the sun, the length of the growing season is determined by where on the globe you are. It will typically be a longer process growing outdoors. Remember that each strain develops at a different rate. Some fast-flowering variants can be harvested in as little as six weeks, while others can take longer to reach maturity.
How hard is it to grow really good weed?
Growing top-tier weed can be challenging, but it’s doable with enough study and practice. Whether you cultivate sativa or indica strains, starting with high-quality weed seeds is critical.
You also need a thorough grasp of the cannabis growing process, which includes nutrient requirements, lighting, temperature, and humidity. Some trial and error are inevitable, but you can construct the ideal conditions for your plants with perseverance and attention to detail.
The expertise you need to produce excellent marijuana buds will ultimately rely on your circumstances. Starting with good genetics, doing ample research, and putting in the effort to fine-tune your growth methods go a long way toward success.