

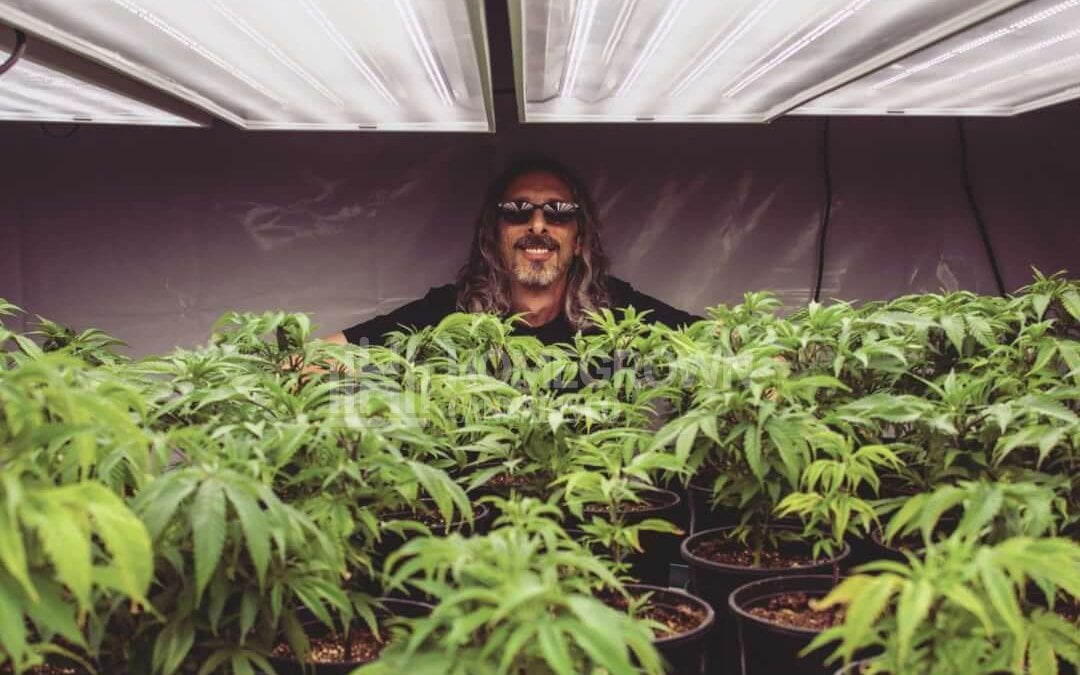
Transplanting Cannabis: Complete Guide with Kyle Kushman Tips
Transplanting cannabis is a vital skill. You won’t be able to truly grow cannabis until you learn to transplant properly.
If you don’t transplant cannabis when it needs to be moved, you could end up with rootbound plants and stunted growth.
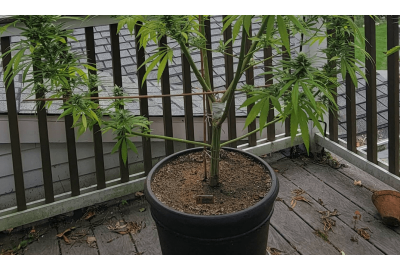
Pot size is important when it comes to yield, you want your plants to finish in nice, big pots, but it’s not always sensible to start them this way.
Transplanting cannabis successfully is all about observation, practice and timing.
You need to recognise when your plants are ready to be transplanted, and you need to know how to transplant without stressing or killing them.
For most photoperiod grows, plan to transplant cannabis up to and around three times.
We’re going to look at the full cycle of the plant, when to transplant weed seedlings and transplanting cannabis plants pre-flip, so they can enjoy flowering in their final home.
Why is transplanting cannabis important?
As plants grow above the soil line, the root ball expands below it.
It’s important the plant has enough room to grow in both these dimensions.
Important both for the quality AND the quantity of your final yield.
While it’s true that pot size determines how big your plants can grow, transplanting marijuana directly from a tiny container to a large one can be detrimental.
We’ll talk about this more later on.
The main advantage of transplanting cannabis is that it helps you perfect the watering cycle, allowing the rootball to expand at a manageable rate.
If you don’t transplant your cannabis when it needs to be moved, the roots might outgrow the pot - the plant can become root bound. Root bound cannabis plants struggle to absorb nutrients, oxygen, and water, often leading to sickness and death. Transplanting marijuana plants too soon will have the negative effect of your root ball falling apart.
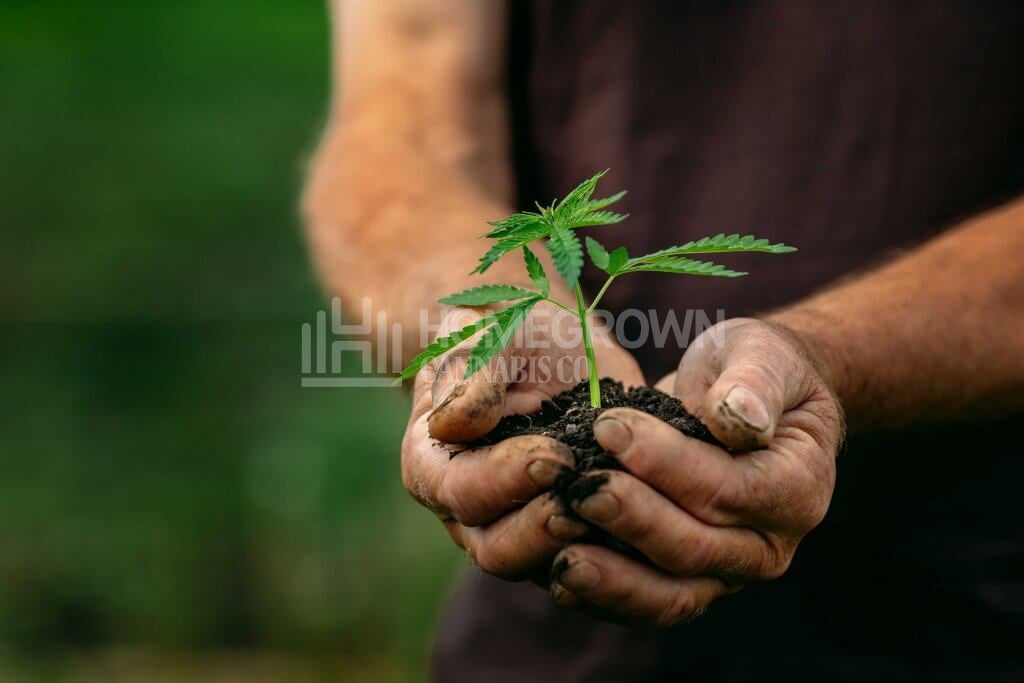
Growing cannabis is all about providing the most comfort for your plants, allowing them to thrive. One of the best ways to do this is to learn how to transplant cannabis with confidence.
How often do you need to transplant marijuana plants?
If you’ve germinated your cannabis seeds outside of the soil, your first experience of transplanting cannabis plants will be planting them.
Okay, so it’s not a major transplant, but you’re still ‘transplanting’ from the paper towel to the small pot or solo cup.
The first big transplanting decision is when to transplant cannabis seedlings to their first decent-sized plant pot. This will either be an intermediate pot, or their final pot.
Remember: transplanting pot is not something you can predetermine. You need to observe your plants, let them tell you when they’re ready to be moved.
Beginners should think about transplanting weed plants into an intermediate pot. This will help master the wet to dry watering cycle - the best way to water your plants!
Transplanting cannabis seedlings straight into a final container is best left to experienced growers (or those growing autoflowers). Unless your final pot is three gallons or less.
When to transplant your marijuana plant?
You should only really transplant weed plants when:
- Planting germinated seeds into their first pot.
- Transplanting pot seedlings into intermediate containers.
- Transplanting into a final grow pot ready for flowering.
The key determining factor in transplanting cannabis is the size of the plant, and, by proxy, the root ball.
You can transplant cannabis as much as needed during the seedling and vegetative stages, but each time you transplant weed, you risk cannabis transplant shock. This is why you need to know exactly how to transplant!
We’ll go into this later on, but for a quick guide and vital tips, you can check out our transplanting video guide right now:
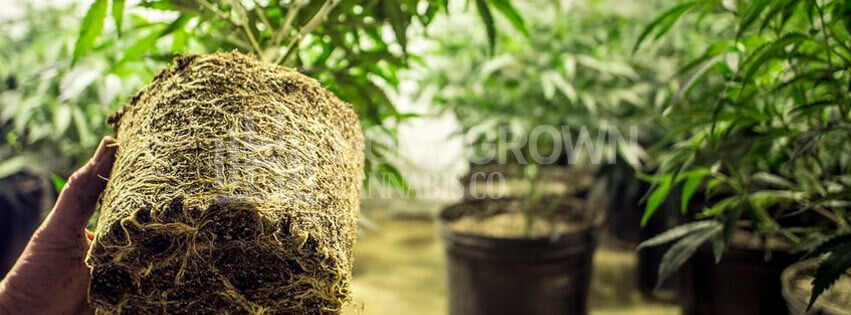
What are the symptoms of a rootbound weed plant?
Thankfully, a rootbound plant is relatively easy to diagnose. Symptoms include:
- Weak new growth.
- Stunted flowering.
- Reddening of the stem.
- Nutrient sensitivity or deficiency.
- Wilting and drooping leaves.
- Stretching.
- Soil drying out fast.
- Spots or unusual discoloration on the leaves.
Another telltale sign for transplanting your marijuana plant is when water takes a long time to be absorbed.
You should regularly lift your plant from its pot to check the roots. Are you seeing tangled roots clawing to escape from the pot? This means the soil has become packed and/or rootbound. Either way, it’s time to transplant.
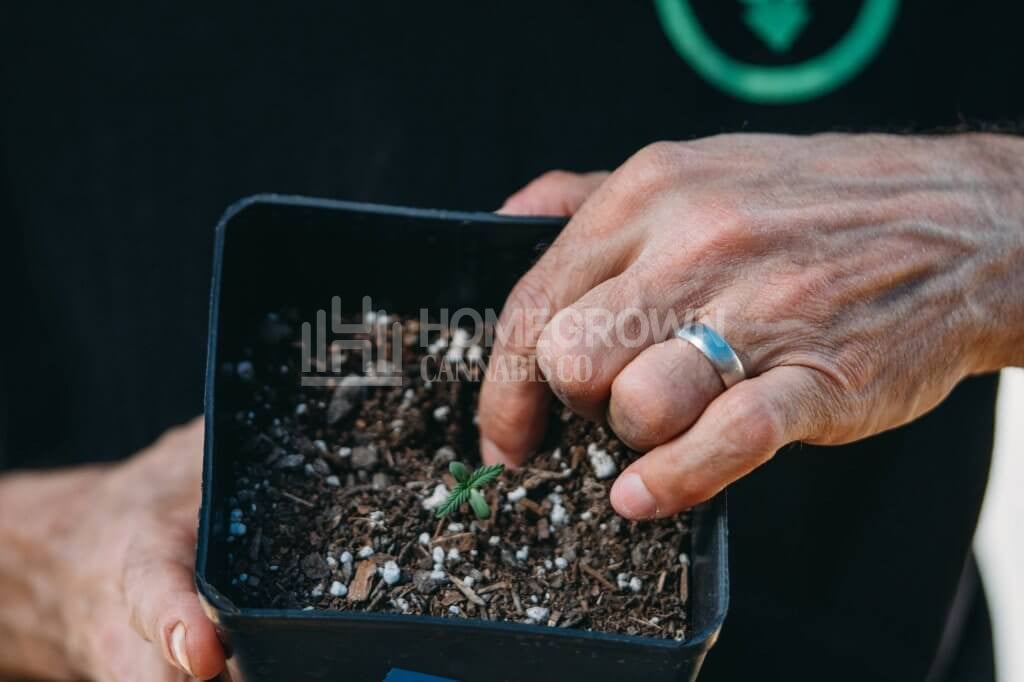
When do you transplant cannabis seedlings?
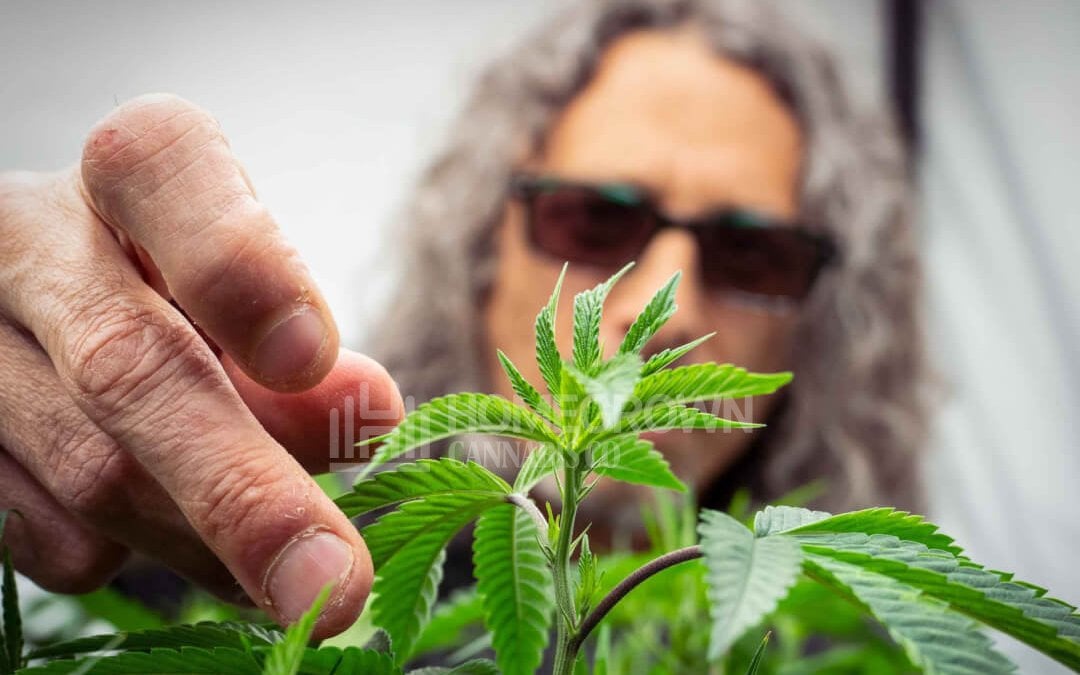
Spotting when to transplant marijuana seedlings is a skill every grower must learn.
You should first transplant when the young plant sprouts its 4th or 5th set of leaves, and regularly check the drainage holes to assess the condition of the roots.
If the roots are healthy-looking and white, then transplanting your pot doesn’t need to happen immediately. If they’re discolored, growing free of the container, or look tangled, it’s time to get cracking!
Regular checks should help you to transplant before the plant shows huge signs of distress.
Be observant, always.
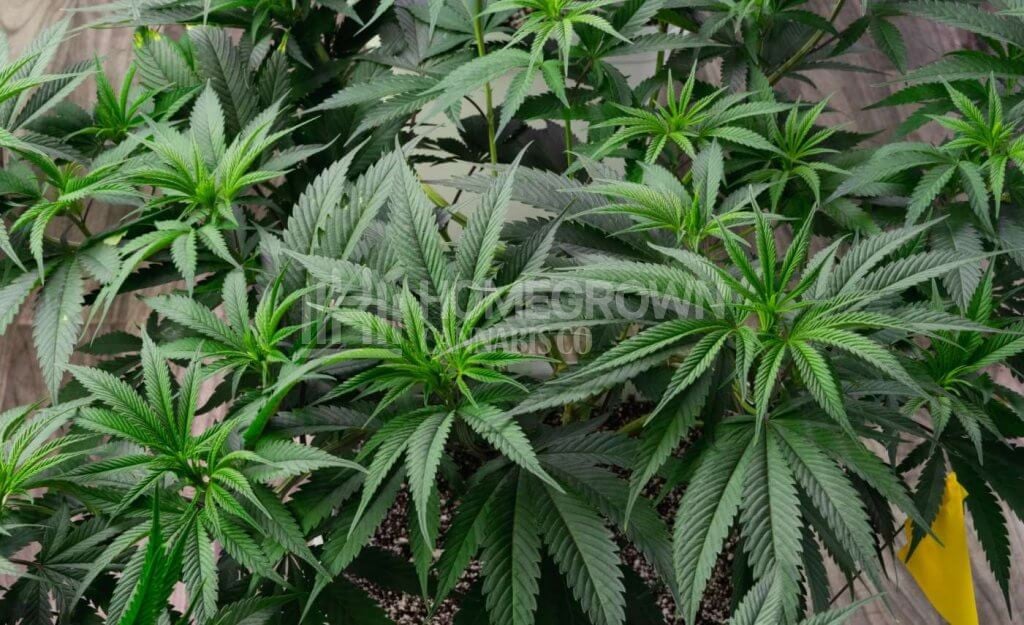
When do you transplant during the vegetative stage?
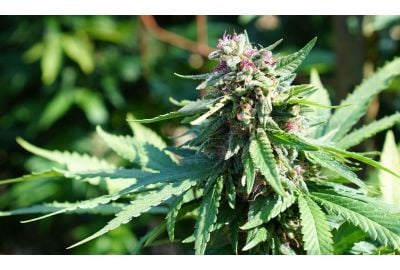
Never transplant weed once it begins flowering. Move your plant into its final and largest pot during the onset of the full vegetative phase. Plants transfer much of their energy to bud growth, leaving far less energy for root development than during the vegetive stage.
While flowering, your marijuana shoots for the sky and needs plenty of room to support vital functions. It also needs to absorb all the sweet, sweet, nutes to pump into your buds.
If you're late to re-pot your weed, don’t do it while it’s flowering. This advice comes from long experience: moving your marijuana at this point spells disaster for your harvest.
Ride it out for now and use the experience to make you a better grower in the future.
How do you choose pot size when transplanting cannabis?
When transplanting cannabis, always pot-up into containers 2-3x the size of the previous one. This reduces the number of times you need to move your plants and minimizes the potential for cannabis transplant shock.
A cannabis plant requires a minimum of two gallons of soil per 12 inches of growth. Knowing the potential height of the strain you're growing is always handy for planning when to transplant cannabis.
We’re looking at you, sativa lovers!
If you’re unsure of what to expect from your experimental seeds, always opt for more room over less. That way, you won’t be caught off-guard when a twelve-footer dominates your grow room!
Most indoor strains are happy finishing in a five-gallon container. Outdoor strains often dwarf those grown indoors, needing up to 20 gallons of soil per plant.
While planning your weed transplants, use my handy measurement guide on plant height vs. pot size:
- 0–6″ = 16 oz
- 6–12″ = 1-gallon
- 12–24″ = 3-gallon
- 24–42″ = 5-gallon
- 42–60″ = 10-gallon
- 60–84″ = 20-gallon

What do you need to prepare before transplanting pot plants?
Beyond selecting appropriately-sized pots for transplanting marijuana plants, you should prepare a few other things to make the transfer successful.
Prepare young plants by cutting the nutrients in half and letting them dry out as much as possible (not totally).
When you’re transplanting cannabis, removing a plant with a saturated rootstock can severely damage it.
You need to prepare the new medium ahead of the transplant. Flushing or sterilizing helps prevent threats like pests and nutrient imbalances, and you can add food back into the soil with fertilizers and nutrient boosters.
Recycling old earth helps maintain the pH and nutrient levels that your plant already likes, and helps prevent cannabis transplant shock.
Adjust the pH of the new soil to around 6 - 6.5 and always have water ready before you transplant weed plants.
Why not plant seedlings straight into their final home?
Transplanting marijuana seedlings as they grow may sound like hard work, and many new growers skip the transplanting and go straight for large containers.
This can be a mistake.
It’s better to transplant weed than to water small plants in big containers.
When transplanting marijuana seedlings into their final home, you run the risk of waterlogging. A large pot means a lot of soil. Lots of soil needs lots of water, often far more than the plant’s immature root system can handle.
As the roots spread out and colonize the pot, they can become trapped in saturated soil and begin to rot.
Another major reason for not transplanting cannabis into large pots too early is that plants use their stored energy to grow roots. They tend to seek the outside edges of your pot, using a whole lot of this energy to reach the farthest corners.
Transplanting pot plants too soon can, in these cases, actually slow down growth.
All this energy invested in the roots comes at the expense of above-ground growth, like developing leaves.
When you transplant cannabis according to its size and stage, roots can colonize pots quickly, absorbing all the water and nutrients it needs for balanced growth.
In other words—if the pot fits, your buds will blitz!
If transplanting cannabis straight into its final home is your only option, or if you're ready for the challenge, follow the pro tips below for happier, healthier plants.
- Only saturate the center first, around 50% of the potting media.
- Water your plant in a column pattern—straight down, all the way around, using your seedling as a central point. This encourages roots to take the fastest path to the bottom and promotes upward growth.
- Never let your marijuana dry out during the early stage. Wait until you can see the roots at the bottom of the container to start a wet-dry cycle.
How to transplant cannabis plants
We’ve covered when to transplant cannabis plants, now it's time to learn how to transplant your marijuana plants.
Freshly germinated seeds are usually happy in their nursery pot for a few weeks. Once they've developed four to five sets of leaves, it's time to move the plants into a fresh new home.
Transplanting seedlings: step by step
Follow these steps to transplant weed safely, minimize the risk of cannabis transplant shock, and maximize your plant’s happiness.
Step 1
Sterilize the area as much as possible and wash your hands (or wear clean gloves). These actions prevent contamination affecting the roots.
Step 2
Make sure the soil is relatively dry - wet soil will fall apart when you pull it out.
Step 3
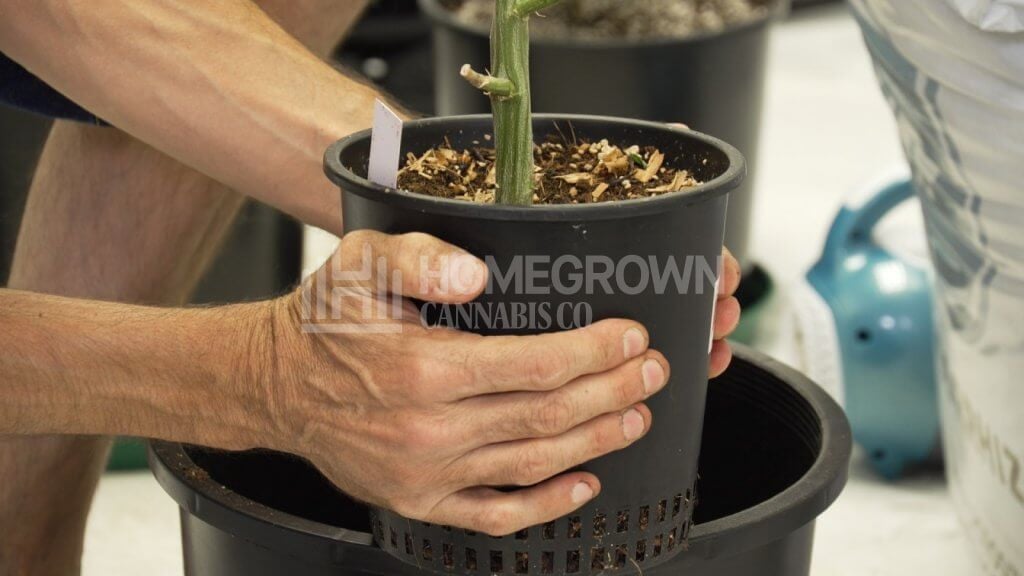
Prepare your receiving pot with new soil that's been flushed, sterilized, tested, and fertilized.
Step 4
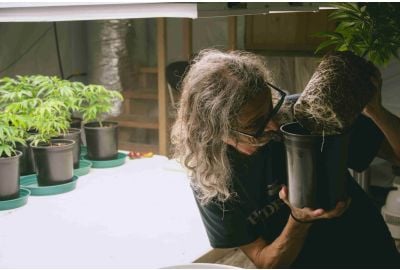
Remove the plant from its current pot by squeezing the container and flipping it upside down.
Put it straight into the new pot with the old soil to minimize the risk of shock. Leaving your weed outside of soil for too long, or exposing the roots to bright light can cause severe cannabis transplant shock.
Step 5
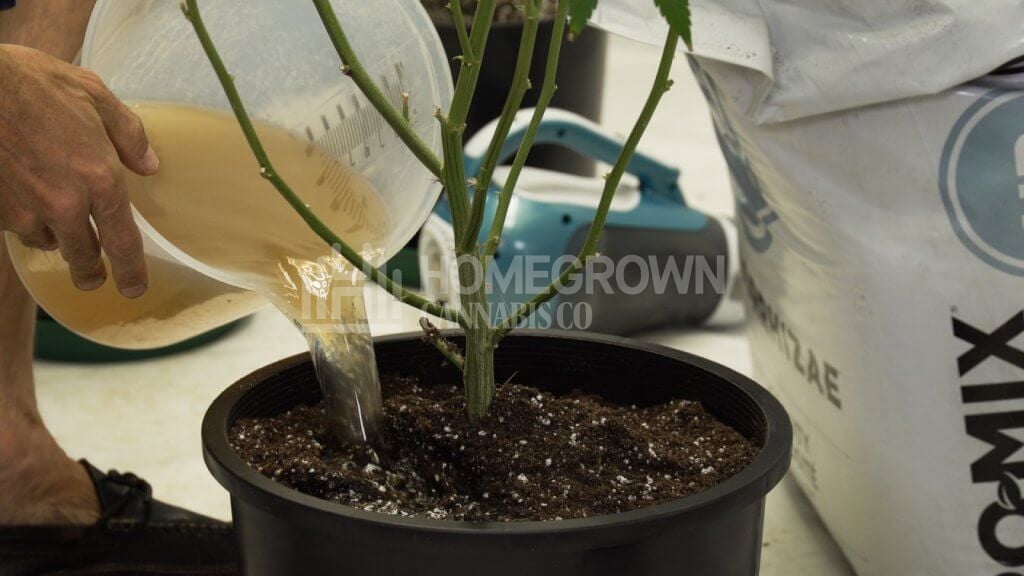
Now your plants are settled, give them a good watering.
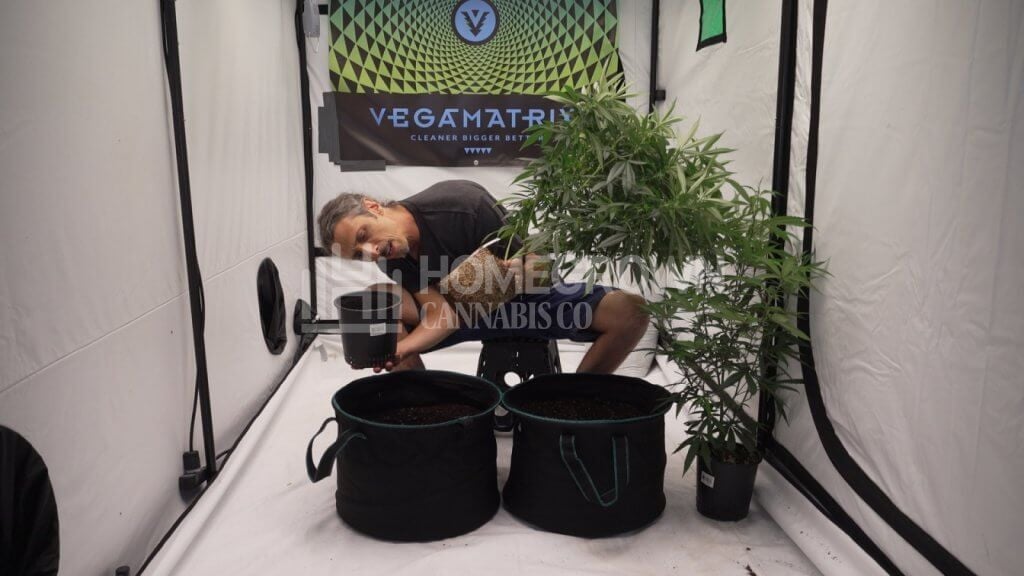
Vegetative transplanting: step by step
Depending on the growth rate, and if you stick to the double-up rule (by making each new pot double the size of the previous one,) your next crucial time for transplanting cannabis plants is when they start vegging.
Having your plant in its largest container at least two weeks before flowering begins is a key to bountiful yields.
Transplanting pot plants at this stage is a little riskier - cannabis transplant shock this far into the lifecycle could spell disaster for your harvest.
Let’s look at how to get it right, every time!
Step 1
Prepare a clean area for the transplant.
Step 2
Amend your potting medium and add it to the new pots, leaving plenty of room for the root ball. The soil shouldn’t fully fill the pot, it needs to be a few inches off the rim.
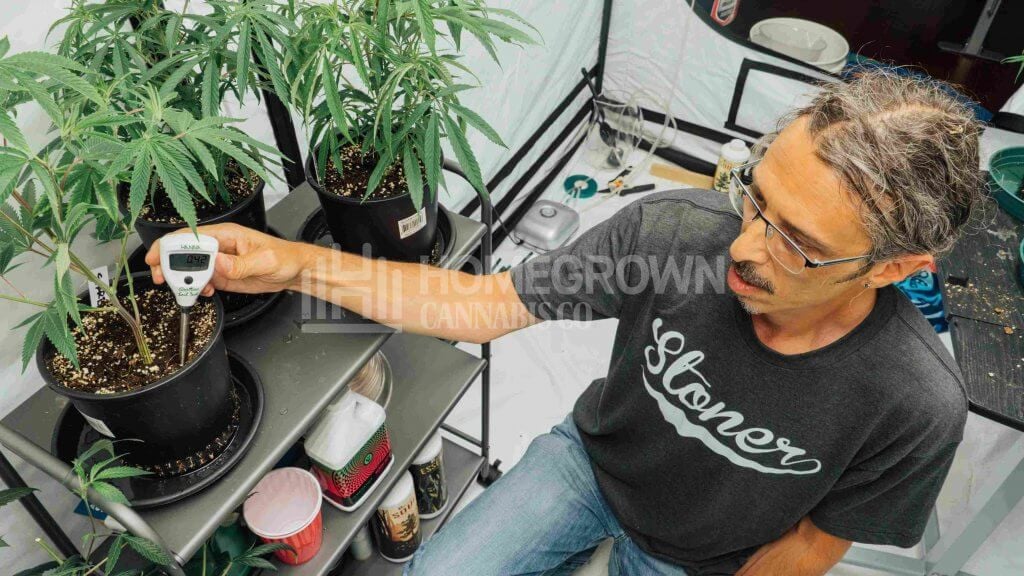
Transplanting cannabis plants into soil with the same nutrients, electrical conductivity (EC), and pH for cannabis levels as the old soil significantly reduces the threat of shock.
Flush the new soil, take measurements, and saturate it with the same nutrient mix you fed your plant before.
The soil should be fluffy and light, so you can easily make a hole big enough to sit the rootball.
Step 3
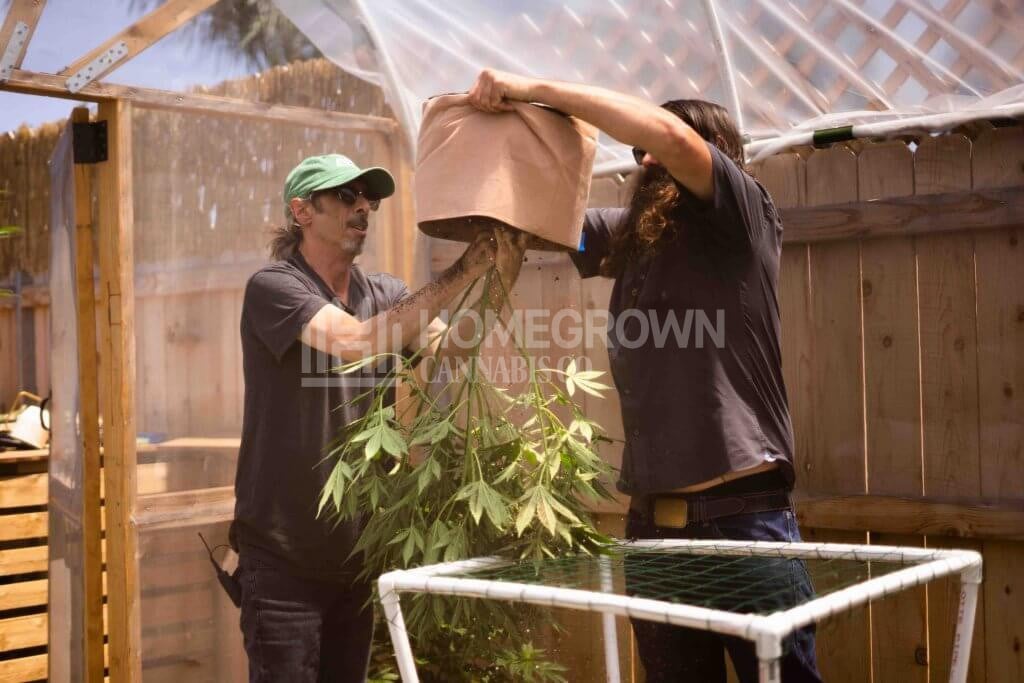
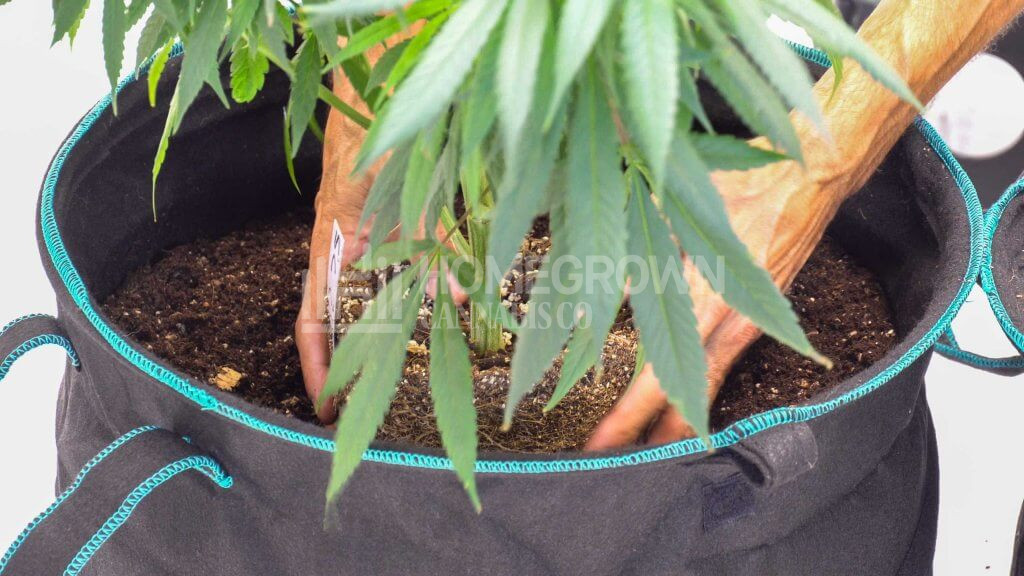
Spray a little water over the plant and gently squeeze the container to loosen the soil.
Position yourself over the new pot or your compost pile. Hold the base with one hand as you turn the plant upside down. With your other hand, slide the container off.
Step 4
Seat the root ball in the hole and cover with loose soil, creating an even soil level.
Water thoroughly.
Keep things like light, heat, and humidity consistent until it's settled into its new soil.
How to avoid cannabis transplant shock
Many beginners are unnecessarily fearful of moving their plants in case cannabis transplant shock occurs.
Every time you move your plant, it’s at risk of shock.
We hear you—nobody wants stunted growth and lower yields.
But here’s the good news—Mother Nature is very forgiving, and with a little due diligence, she’ll take care of you just like she takes care of the earth.
With a little knowledge, even first-time cultivators can avoid shock when transplanting cannabis.
Most shock occurs when you move a plant out of the ground to somewhere entirely new. New soil, new pH levels, new humidity levels. All these features make your plant nervous, so keep your conditions as consistent as possible.
Transplanting weed plants is a unique method of potting up.
You can control every element as you simply move your plant to a bigger space with the same potting media.
To ensure your weed doesn't fall victim to cannabis transplant shock, follow these basic precautions:
- Take extra care when transplanting marijuana seedlings. Don’t touch their fragile roots as you move them.
- Prune dead or decaying older plant roots to encourage fibrous structures—but don’t break them apart.
- Use the same potting media and fertilizers.
- Flush your soil and test its EC and pH before transplanting weed plants.
- Fertigate the new earth with the same nutrient solution.
- Execute the transplant fast and efficiently. Minimize air and light exposure.
- Return your plants to where they're happy. Don’t change the light, heat, or humidity until your plants start growing again.
Follow these rules, and instead of shock, your plant will thank you for your efforts with a growth spurt.
How’s that for a pleasant reward?
Is there anything you should do or avoid after transplanting?
After transplanting cannabis seedlings or vegetative weed, there are a few other things you can do to ensure the move doesn't hurt.
Lay off any training that might put your marijuana under more stress.
After transplanting cannabis plants, you should wait a few days before resuming training and topping.
ALWAYS try to wait till the plant shows signs of healthy new growth. This is nature’s way of telling you “I’m ready. Let’s do this!”
Large plants may need some support in their new home. Consider a frame, plant stake, or other support structure to stop the larger ones toppling over.
When transplanting marijuana plants into their new home before flowering, don’t flip them straight after.
Give them time to get into the new groove to ensure they’re in the right frame of mind to enter the next phase. Let them settle, spread, and secure themselves in the new soil for up to two weeks before flipping.
How do you feed your cannabis plant after transplanting?
Flushing and sterilizing your new soil before transplanting cannabis is key to preventing myriad health risks.
But wait—won’t this leave your plant hungry when it arrives in its new home?
Totally! That’s why fertigating your potting media is essential!
Using the same solution you feed your plants before transplanting marijuana ensures it's got everything it needs from the get-go.
Remember to recycle the old soil and test the new mix’s pH and EC levels before transplanting cannabis, just to be on the safe side. Your plant shouldn’t need additional nutes beyond its usual cannabis feeding schedule for a few weeks.
Now you’ve moved your ladies, be extra vigilant with them for the next few days. Monitor your plants for any signs of deficiency. Yellow leaves and purple stems are signs that something isn’t right with your pH levels after transplanting your marijuana plant.
Consider upping the nutes a few weeks later. Push them as far as possible for optimal crop outcomes, but be on the lookout for nitrogen-burnt tips.
These indicate that you’ve pushed your plant as far as it’ll go.
What about autoflowering plants: can you transplant them?
Autoflowering strains are one of the easiest to grow and boast rapid growth rates. They can mature within ten weeks after germination.
Transplanting cannabis of this type is generally a bad idea, though auto-experts like Kronic would disagree. Check out Kronic’s video on re-vegging autos - his argument for transplanting autoflowers is compelling!
For most growers, there isn’t enough time in an autoflower’s life cycle to overcome the stress of transplant.
If you must transplant your autos, timing is crucial. Only do it once—when your plant has grown four or five sets of leaves and has a robust root system.
Key takeaways about transplanting pot
Knowing how to transplant marijuana is simple, yet there's a lot to remember.
Here are the key takeaways to help you on your home growing journey:
- Before transplanting cannabis, for young plants cut your nutes in half, let your plant dry, and prepare your new potting media.
- Choose a pot size that’s double the current container.
- When transplanting your marijuana plant, sterilize the area, avoid contact with the roots, and don’t overfill or pack down your pots.
- Work fast but be careful. Avoid exposing the plant's roots to light and air.
- Let your plants settle. Don't cause further stress by training or changing the environmental conditions.
- Always pot-up before the flowering stage—never during—and allow two weeks for your plants to adjust before flipping.
The roach
Transplanting your pot as your plant develops has many benefits.
It ensures your plants are happy and healthy, and they repay this TLC with THC.
As long as you respect the process of when to transplant cannabis, you won't encounter too many problems.
Remember that transplanting cannabis straight into its final container can be tricky.
And that’s not just for rookies—I’m talking to you vets too!
If you have any special transplanting marijuana tips, why not share them with the rest of the Homegrown Cannabis Co. community?
Even expert cultivators can learn from others’ experiences on how to grow cannabis indoors. It’s all about listening to others’ tips and tricks, so share away on the Homegrown Forum.
About the Author: Kyle Kushman
Kyle Kushman is a legend in the cannabis community. He is the modern-day polymath of pot: cultivator, breeder, activist, writer, and educator. After winning no less than 13 Cannabis Cups, there’s nothing this guy doesn’t know about indoor growing - he’s been there, done it, and is still doing it to this day!