
Hydroponic Grow Schedule Guide Week by Week
Indoor marijuana cultivation is very flexible regarding the type of medium growers use. While many opt for organic soil, hydroponics are becoming increasingly popular because cannabis plants develop 30–50% faster and provide bigger yields in this medium. If you’re using the latter, it’s vital to understand the hydroponic grow schedule to get the best results come harvest.
Here’s a detailed week-by-week breakdown of the timetable throughout the vegetative and flowering stages so you can plan your cultivation season. Effective implementation can lead to a rewarding experience. Let’s begin!
Hydroponic grow schedule
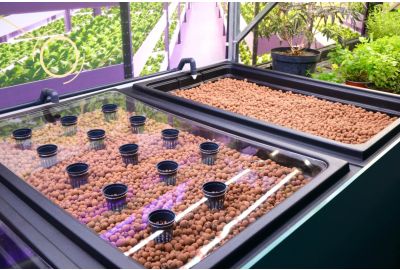
Before looking at the hydroponic grow schedule, there are important steps to follow during the germination stage. Place your seeds in rock wool cubes instead of soil for easy transplanting to a hydroponic growing medium.
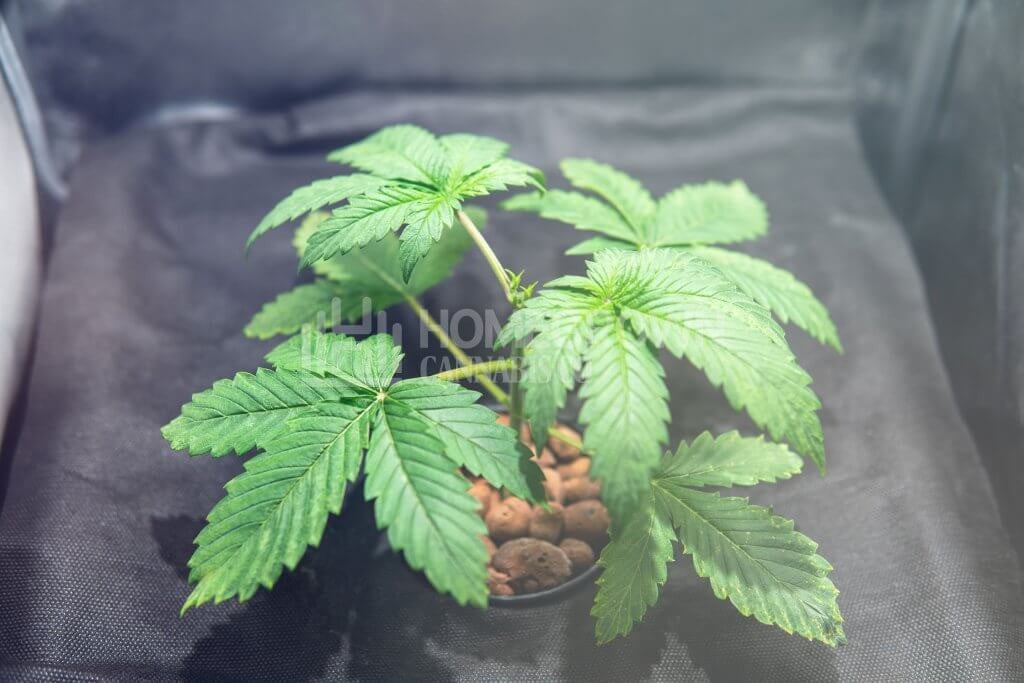
When taproots sprout, care for the seedlings until they produce several internodes and their cuttings develop lots of roots. Then, move them to your hydro system or stealth hydroponic grow box.
The hydroponic grow schedule is divided into two main stages, vegetative and flowering.
Vegetative stage
Follow these steps during the first two weeks of the vegetative phase:
Week 1
Start your hydroponic grow schedule by running your hydroponics system for at least 24 hours before transplanting your seedlings to ensure it’s working. The temperature should be 75°F in the daytime and 65°F at night. Maintain the water temp at 70°F. Use a fish tank heater to warm it or add water to cool it to the optimal temp.
The next step of your hydroponic grow schedule before adding the plants into the system is to balance the TDS values and pH level. The TDS (Total Dissolved Solids) reading refers to the number of organic compounds in water, such as inorganic salts.
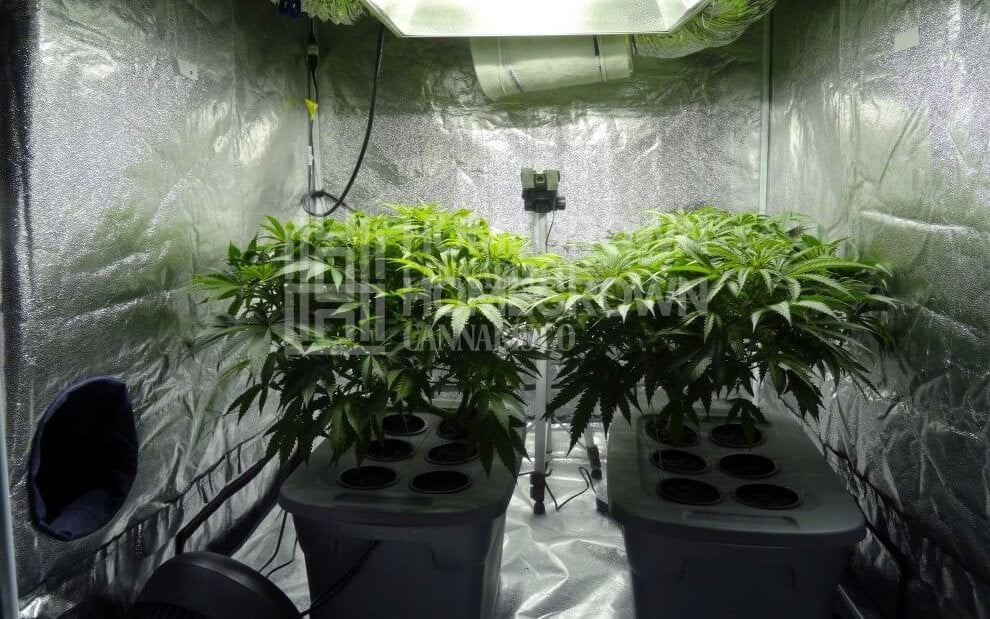
As your plants are quite small during this stage, use metal-halide (MH) lamps as grow lights for indoor plants for the hydroponic light schedule. It emits the white or blue part of the spectrum plants need to grow roots, stems, branches, and leaves. Use only half of your lamps and keep them 40 inches away from your crops.
During the first week of the vegetative phase, plants use plenty of nitrogen (N). As part of your hydroponic grow schedule, make sure your fertilizer has lots of this nutrient, which helps with root growth. Keep the TDS to about 650 ppm (parts per million) when adding it.
Note that the value drops as your plants consume nutrients and raises the pH level. Check and adjust it every two days to keep the pH at 5.8.
Your hydroponic grow schedule checklist should tell you to keep an eye on the cannabis humidity and temperature of the grow room, preferably daily. Maintain the humidity levels by spraying your plants. You can wet the floor to add moisture, but make sure it’s waterproof.
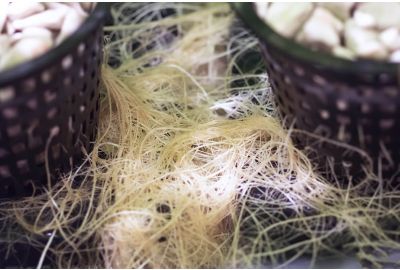
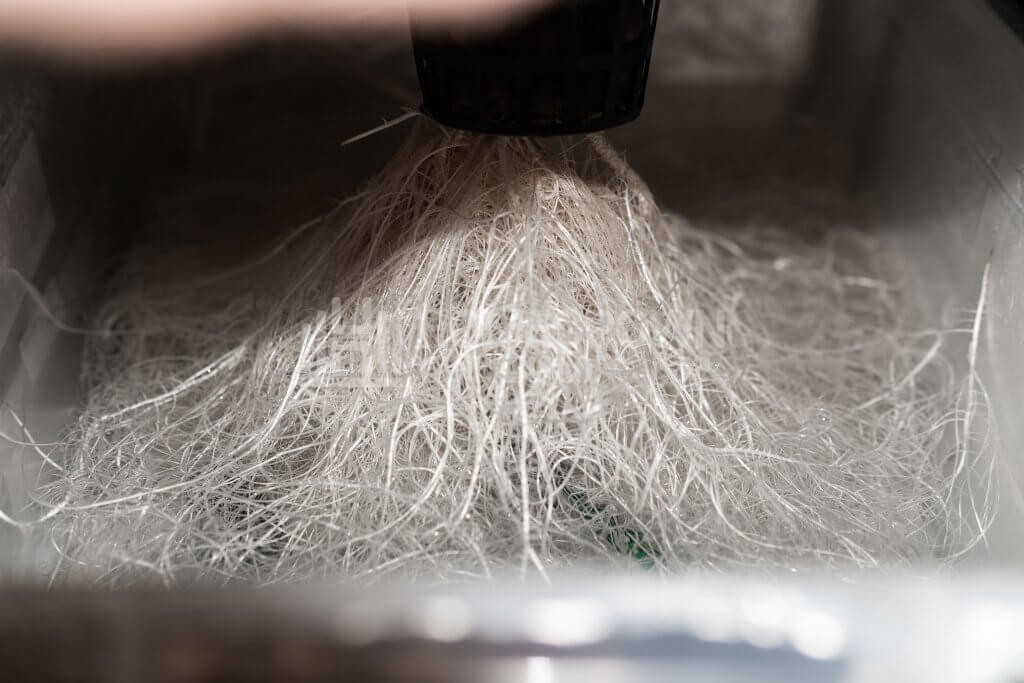
Inspect the cannabis roots during the week to ensure they’re healthy. By the end of this period, their length should be about the plant’s height.
Week 2
In week two, adjust your hydroponic light schedule. Switch on all your lamps and reduce the distance to your plants to 20 inches. Don’t let the temperature for growing weed rise above 86°F, or your crops may start to burn.
Check the water level and add more if necessary. If the tips of leaves start turning brown, that’s a sign of nutrient burn. Lower the TDS level by about 35%.
At this point of your hydroponic grow schedule, get a fan and direct the breeze over the plants or at a wall. They’ll develop stronger and healthy stems because of the constant ‘exercise’ from the airflow.
When the leaf tips of different crops begin to touch, start the flowering phase. Trigger the blooming stage after the first week if you have many plants underneath one lamp. Stopping the growth early on prevents them from growing beyond the light coverage area.
When do you begin topping?
One task on your hydroponic grow schedule is topping or FIMming your plants. A good time is from the end of the vegetative stage until the second week of the flowering phase. Your crops are mature enough to deal with the training and have enough time to recover from the stress.
Topping cannabis is an excellent method to increase yields. At this stage of your hydroponic grow schedule, cut off the upper part of the plant to stop its upward growth. The crop’s growth hormones will spread to the lower sections, creating new branches. With the lateral growth, the plant gets bushier with more bud sites, resulting in greater yields of high-quality nugs.
Flowering stage
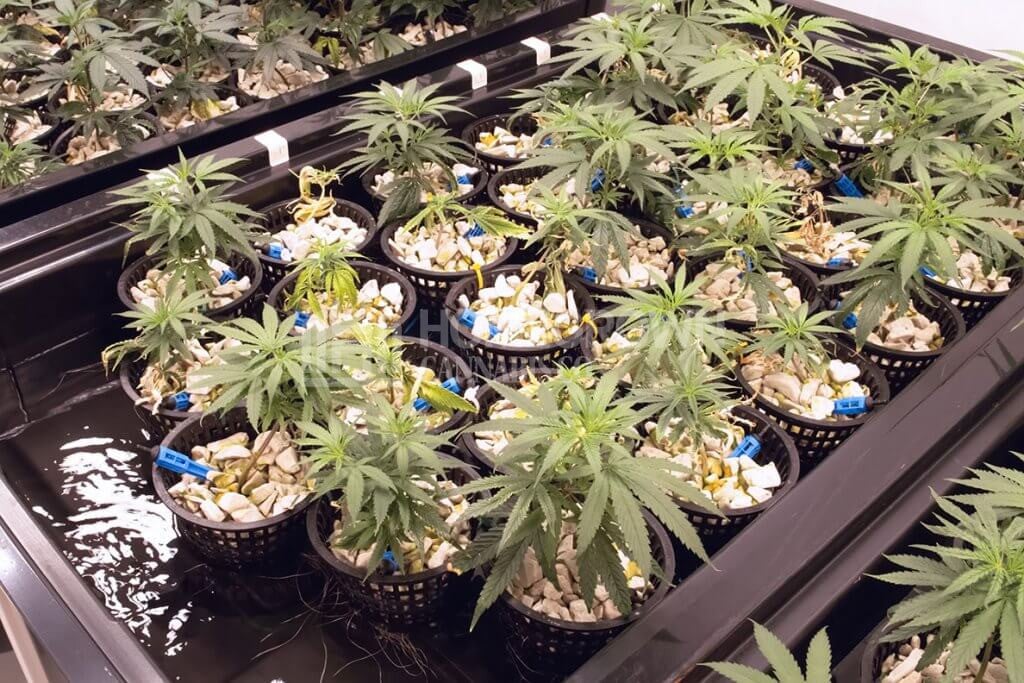
The hydro flowering stage lasts about nine weeks. When your plants reach at least six inches in height and have four sets of leaves, they’re ready to bloom.
It’s time to switch the light cycle from 18/6 to 12/12. By giving your crops more hours of darkness, you mimick the coming of fall. This phenomenon triggers the plants’ innate response to flower before winter.
Week 1
The hydroponic lighting schedule adjustment takes time before you notice a physical change in your plants. Continue to provide nitrogen-rich nutrients in the first three weeks. After that, you’ll need to switch to adding more phosphorus instead because your crops require it to produce flowers.
Another change in your hydroponic lighting schedule is using 600-watt high-pressure sodium vapor (HPS) lights. As these lamps are more powerful, regularly check for light burn signs on your plants’ foliage. Reduce the heat intensity by directing the fans to blow between the bulb and the canopy top. Note that this specification is for photoperiods. The autoflower hydroponic nutrient schedule is different.
Readjust the TDS to 840 ppm, humidity level to 70% RH, and pH for cannabis to 5.8. Check your plants' foliage for discoloration and signs of stress such as disease, pests, nutrient toxicities, or deficiencies. Make sure the roots are healthy.
Week 2
At this stage of your hydroponic grow schedule, stop topping your crops. Continue to prune and remove plant parts that aren’t needed, such as the small side shoots. Your crops will channel the freed-up resources and energy to bud development.
As part of your hydroponic light schedule, check the distance between the lamps and the top canopy as your plants get taller quickly. Adjust the bulbs, if necessary, to maintain a height of 20 inches, so the top foliage doesn’t burn. Unless you’re an experienced cultivator, don’t super crop the stems as it’s a form of high-stress training (HST).
Another equally important task on your hydroponic grow schedule at this stage is to ensure there’s proper airflow below the canopy. Trim unwanted leaves or use a fan to improve circulation.
Week 3
The cannabis hydroponics nutrients guide recommends providing your plants with more phosphorus and potassium (K) instead of nitrogen in the third week. Your crops need them to produce buds. Before adding the new mix, flush your crops with plain water, then wait a couple of days.
As they grow taller, your plants also consume more moisture, so follow a hydroponic watering schedule and keep them hydrated. Check the leaves for signs of discoloration and ensure the roots are white.
Inspect your plants’ preflowers to identify any males and remove them, so they don’t pollinate your females. This step is unnecessary if you use feminized seeds, as 99% of your plants will be bud producers.
Next on your hydroponic grow schedule is regularly monitoring the temperature, pH, and TDS levels. The water should smell fresh. Bring the humidity down to an RH of 60% this week.
Week 4
In week 4 of the flowering stage, your hydroponic weed stops growing tall. Instead, they continue to produce buds. You start to see more colas and smell the aroma. You can safely super crop your plants one last time.
Your hydroponic nutrient schedule should continue to focus on giving your plants high levels of potassium and phosphorus. They play a vital role in trichome production. Bring the pH down to 5.5 for maximum absorption of these minerals.
Week 5
The focus of your hydroponic lighting schedule this week is providing your crops with as much light as possible. More illumination increases yields and bud potency. One way to do this is to move the HPS lamps closer to the upper canopy. You can also delay moving the bulbs away from the plants as they get taller.
During this hydroponic light schedule, watch out for indications of heat stress as the proximity of the lamps can cause leaves to burn. Your plants will give you signs such as burnt or yellowing leaf tips. Test the intensity by placing your hand above the canopy. If it feels right, your crops will also feel comfortable.
Week 6
If you’ve been following the hydroponic weed nutrient guide up until this point, your plants will be getting more nutrients to produce bigger nugs. Provide your crops with carbon dioxide (CO2) to sustain their growth and enhance bud size and density. Make sure to add the gas during the light-on period.
Each plant can take in as much as a gallon of water every day, so adjust your hydroponic watering schedule accordingly. Check your buckets daily to ensure they’re full.
Bring the pH up to 5.8 towards the end of this week. Don’t increase nutrients to maintain the balance of pH and TDS levels. Air circulation is also important, so keep a fan blowing.
Week 7
By this week, the flowers get bigger, so you need to adjust the nutrient schedule for hydroponics. The buds look gorgeous with lots of pistils and trichomes. This is the time to add a booster to your blooming mix to give your plants more potassium.
Pay attention to the white layer surrounding the nugs. A whiter hue means healthier buds. When it turns orange, it’s almost time to harvest.
Week 8
This is the final two weeks of your hydroponic grow schedule. The buds continue developing, mainly becoming dense and producing THC, other cannabinoids, flavonoids, and terpenes. Reduce the nutrients by bringing the TDS level down from 1300 ppm to 750 ppm. Doing so allows your crops to use up the nutrients, ensuring chemical-free nugs at harvest time.
At this stage of your hydroponic grow schedule, you may see leaves at your plants’ base yellowing and dying, but it’s normal. Your main concern should be mold, even if it’s a tiny bit. Carefully cut the affected part and dispose of it.
Week 9
Harvest time draws near in the ninth week. Your hydroponic nutrient schedule focuses on weaning nutrients off your crops by lowering the water pH to 5.5. Harvesting buds with little nute leftover makes the process of drying and curing more efficient, resulting in cleaner and tastier weed.
Stay vigilant at this late stage of your hydroponic grow schedule. Monitor your plants to identify and remove rot and pests that can destroy your crops.
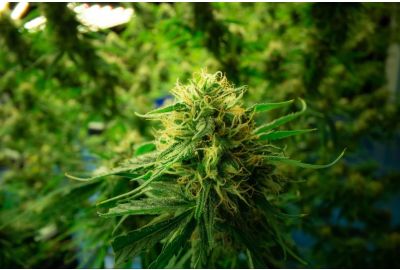
The color of the trichomes will let you know when the buds are ready to harvest. When 60–70% of the trichomes change from translucent to milky white, THC concentration is at its maximum, and it’s time to collect the nugs.
Hydroponic grow schedule for maximum results
Choosing hydro as an alternative medium to soil is the first step to having marijuana plants that grow faster and produce massive yields. It’s vital to plan and follow a hydroponic grow schedule to maximize your results.
Now that you know what you need to do, we suggest keeping a hydro grow journal to document the process. Use it for future reference and to pinpoint any areas that you need to improve. Deep water culture is an effective alternative to expensive hydroponic systems if you prefer to do it yourself.
Please share it with your friends on social media if this article has been helpful. You can also subscribe to our newsletter or visit our blog for more cultivation tips.
About the author: Parker Curtis
Parker Curtis has around a decade of cannabis-growing experience, specialising in soil-less and hydro grows. He’s mastering outdoor, greenhouse, and indoor grows.